Easy Sourdough Bread
This recipe is perfect for those new to sourdough or someone looking for an easy, basic loaf. While working with sourdough and fermentation might be daunting at first, once you get the hang of the visual cues, you’ll be creating your own loaves in no time and if you’re like me you’ll have a hard time going back to store-bought bread! I do recommend using a food scale in grams for sourdough as the measurements are critical to getting the crumb texture, rise and crust just right.
Prep Time: 36 hours (accounting for all steps, fermentation and cold proofing)
Cooking Time: 1 hour
Total Time: 1.5 days
Yield: 1 9-inch round or oblong loaf
Ingredients
1 / 2 cup (100 grams) of bubbly, active starter
1 1/8 cup (325 grams) of warm water
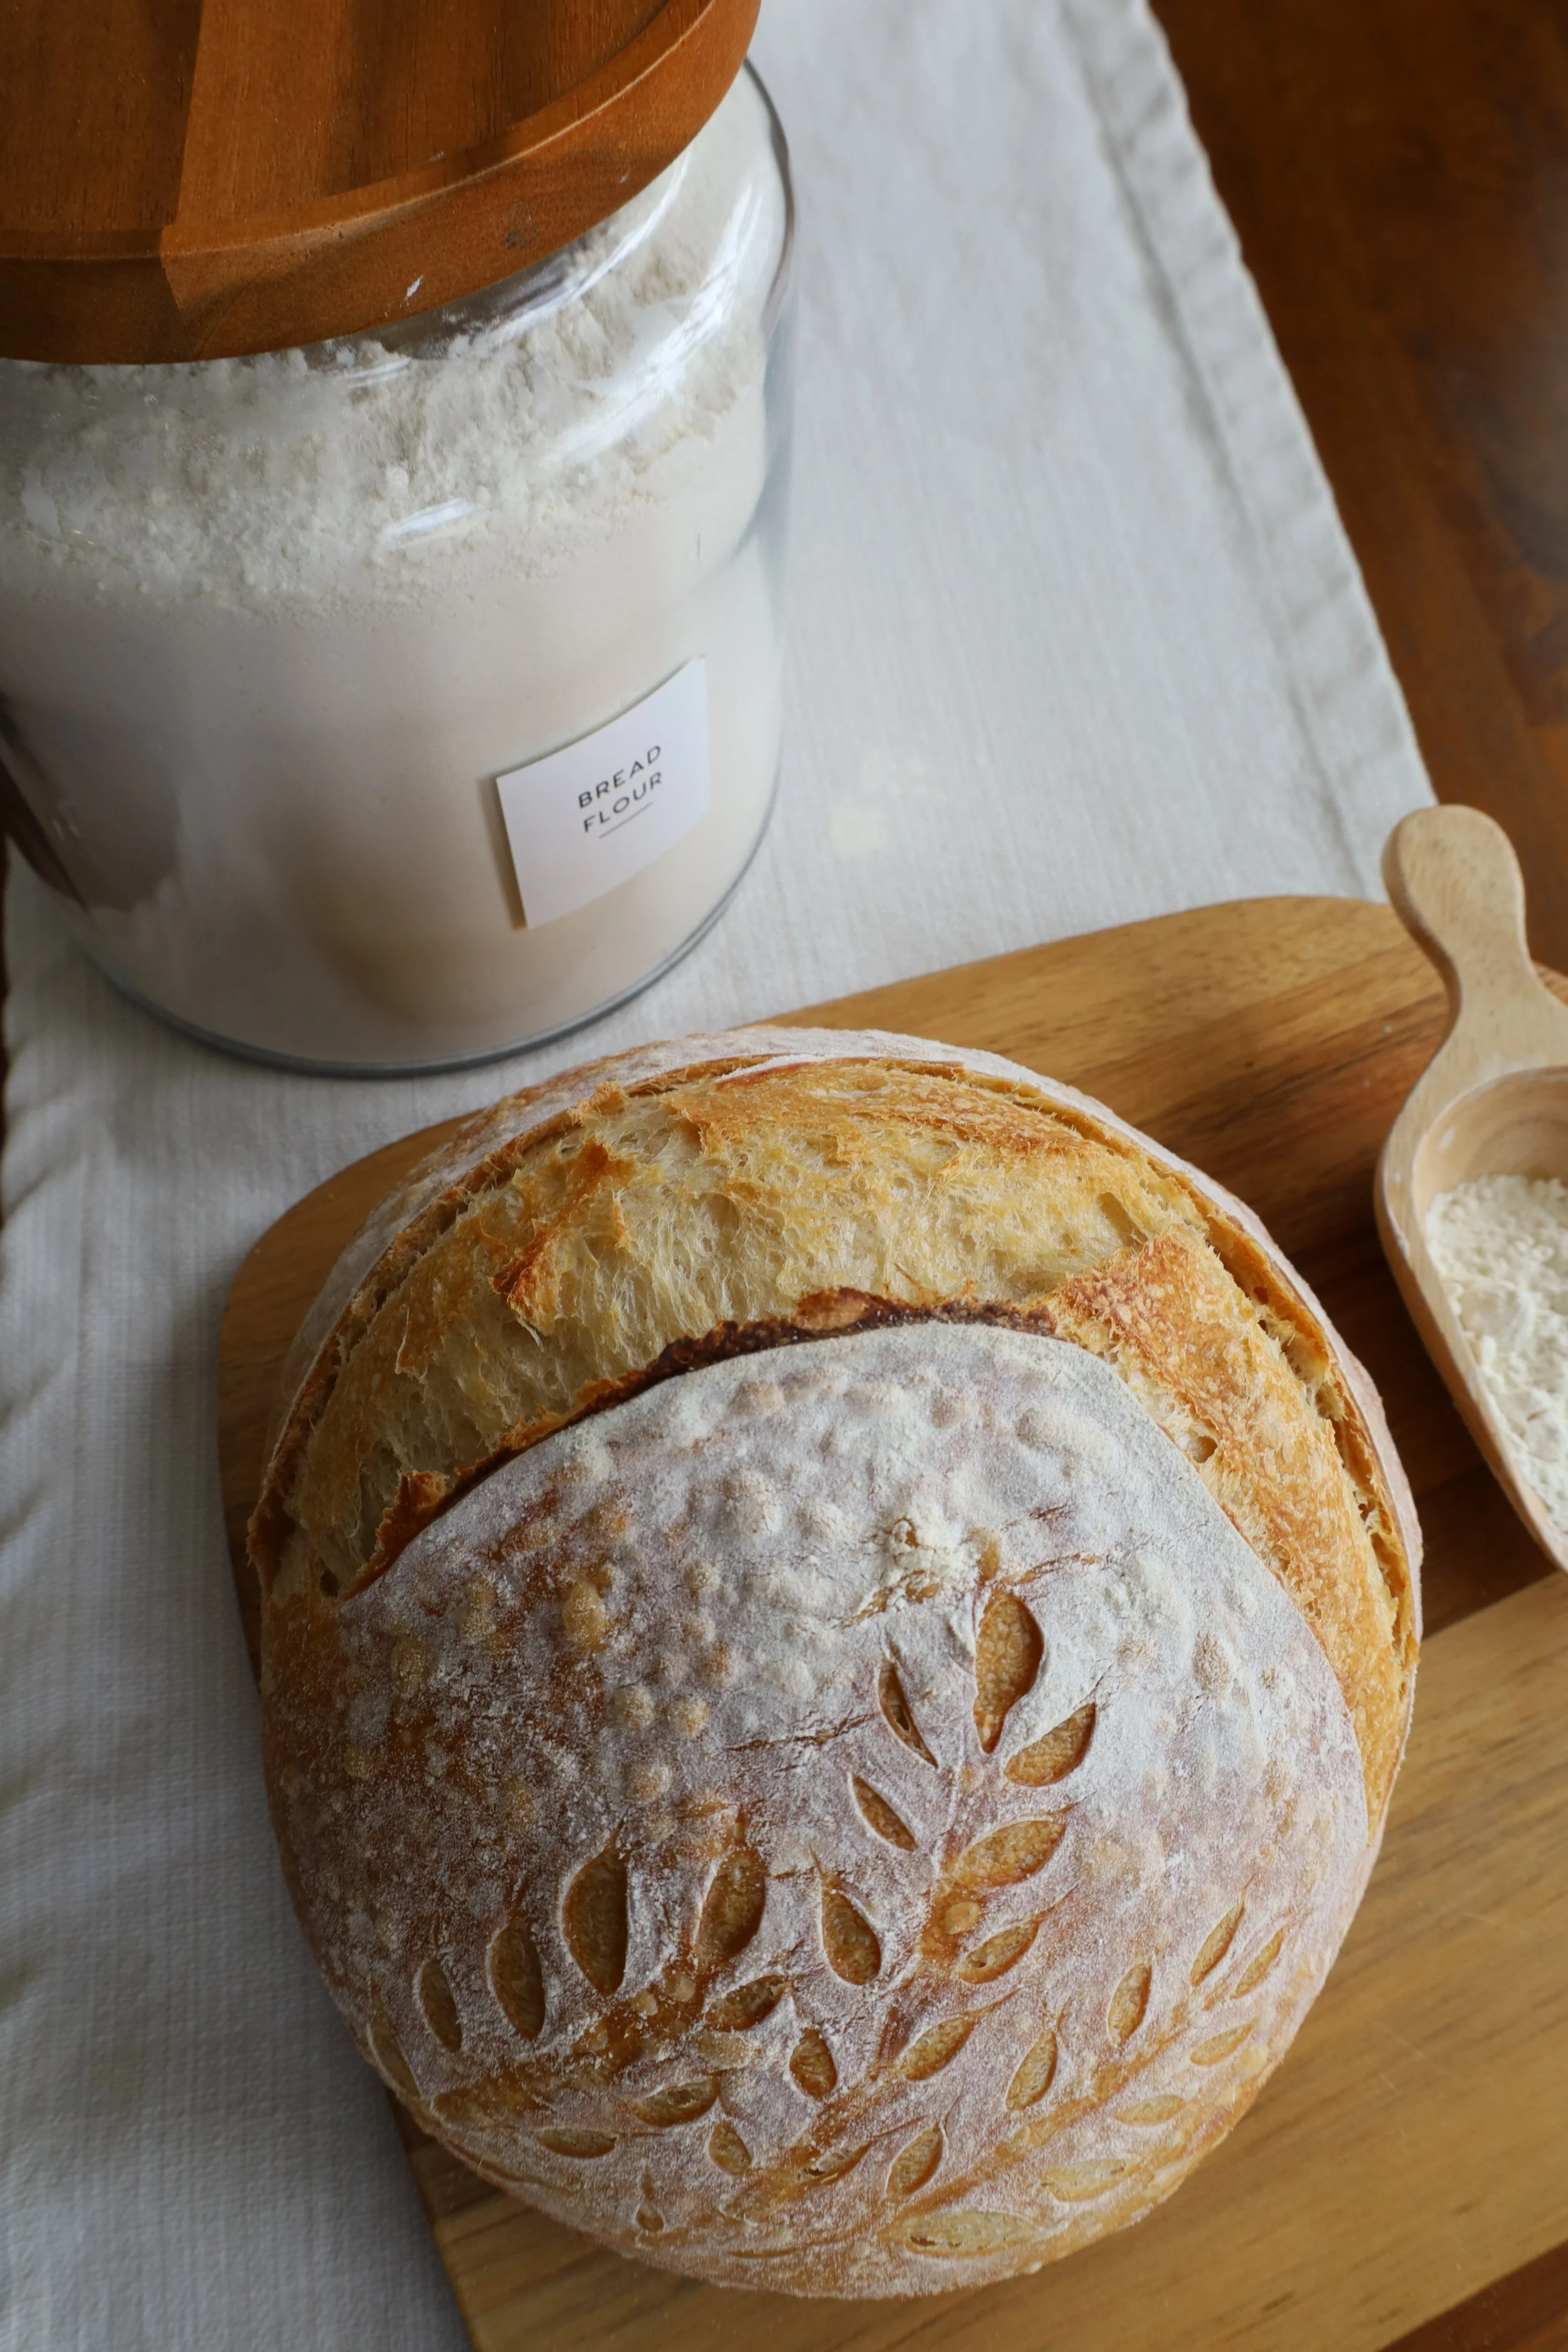
4 cups (500 grams) of bread flour (I like to use King Arthur brand)
2 tsp fine sea salt (12 grams)
Instructions
5 hours before you plan to start your bread, feed your starter if it’s not already active. To feed your starter add about a 1/2 cup of AP flour and 3-5 tablespoons of water and stir until the consistency is like thick pancake batter. Let the mixture sit at room temperature in a loosely covered jar for 4-5 hours until it expands by 2 – 3x and is bubbly. If you already have active starter, proceed to step 2.
In a large mixing bowl add 100 grams active starter, 325 grams warm water and whisk together with a fork until frothy.
Add 500 grams of bread flour and 12 grams of salt to the starter and water mixture.
With a spatula or a bread whisk, mix all ingredients together until a shaggy dough starts to form.
Cover bowl with a dish towel and let rest for 15 minutes.
Start your stretch and folds- if you have time to do four rounds, that would be my recommendation, but I’ve gotten away with doing 2-3. Take the dough and with scooping hand motions, stretch each corner of the dough and fold it over itself, doing this on all sides and then re-cover the bowl with the dish towel. Repeat this process 4 times, letting the dough rest for 20 minutes in between folds. You can also use coil folds, a method where you lift the center of the dough up and let the sides fold under.
One your stretch and folds are done you should have a dough ball that’s smooth and elastic. Put the dough in the mixing bowl and cover with a dish towel for 8-9 hours to bulk ferment. I also like to put the bowl with the towel in a bag to prevent the dough from drying out. The timing of your bulk ferment will depend on how warm your kitchen is, my bulk fermentation is typically complete at 7-8 hours in a 70-degree home. You’ll know it’s ready when the dough has doubled in size, jiggles slightly when you move the bowl, bubbles have started to form on the surface, and it easily pulls away from the sides of the bowl.
Take the bulk fermented dough out of the bowl and place on a lightly floured surface where you’ll begin to shape the loaf. I like to gently stretch the dough into a rectangular shape then fold the two long sides in on the center before rolling it up on itself from one of the shorter ends, so it resembles a ball. Gently push and pull the bottom of the dough away from you, then back towards you, across the floured counter surface to create tension and further tighten the dough ball (think a candy cane-shaped motion across the counter surface; push upwards in a straight line, then pull it back towards you in a curve to create that surface tension). Once you have your shaped loaf, put it seam side up in a floured and lined banneton basket. Cover with saran wrap to prevent the dough from drying out and place in the refrigerator overnight to cold proof.
Once you’re ready to bake the next day, start by pre-heating your oven with your Dutch oven inside; it’s important for the Dutch oven to be hot when you put the dough in. Some recipes call for higher temps, but I like the crust and consistency of a lower bake temp so I pre-heat and bake at 450 °F.
While the oven is pre-heating, either use a silicone bread lifter or tear off an 8x8 piece of parchment paper and place on the counter. Carefully turn the banneton upside down on the lifter or parchment paper so the cold dough is sitting in the middle. Using a flour duster, or by hand, sprinkle a bit of flour on the surface of the dough, and score down the middle or in an “X” shape with a bread lame, and add any additional designs. If you have it, I like to use rice flour for this step as it doesn’t absorb as much into the bread to help maintain any scoring designs.
Take the pre-heated Dutch oven out of the oven and carefully lower the lifter or parchment paper with the dough on it into the pot (be VERY careful, the Dutch oven will be extremely hot). Place the lid and put back into the oven to bake at 450 °F for 30 minutes.
After 30 minutes, take the lid off the Dutch oven and lower the temp to 435 °F then bake for another 15-20 minutes uncovered until the top of the loaf has turned golden brown.
With oven mitts, grab the sides of the parchment paper or lifter and remove the loaf from the Dutch oven and place on a wire rack to cool.
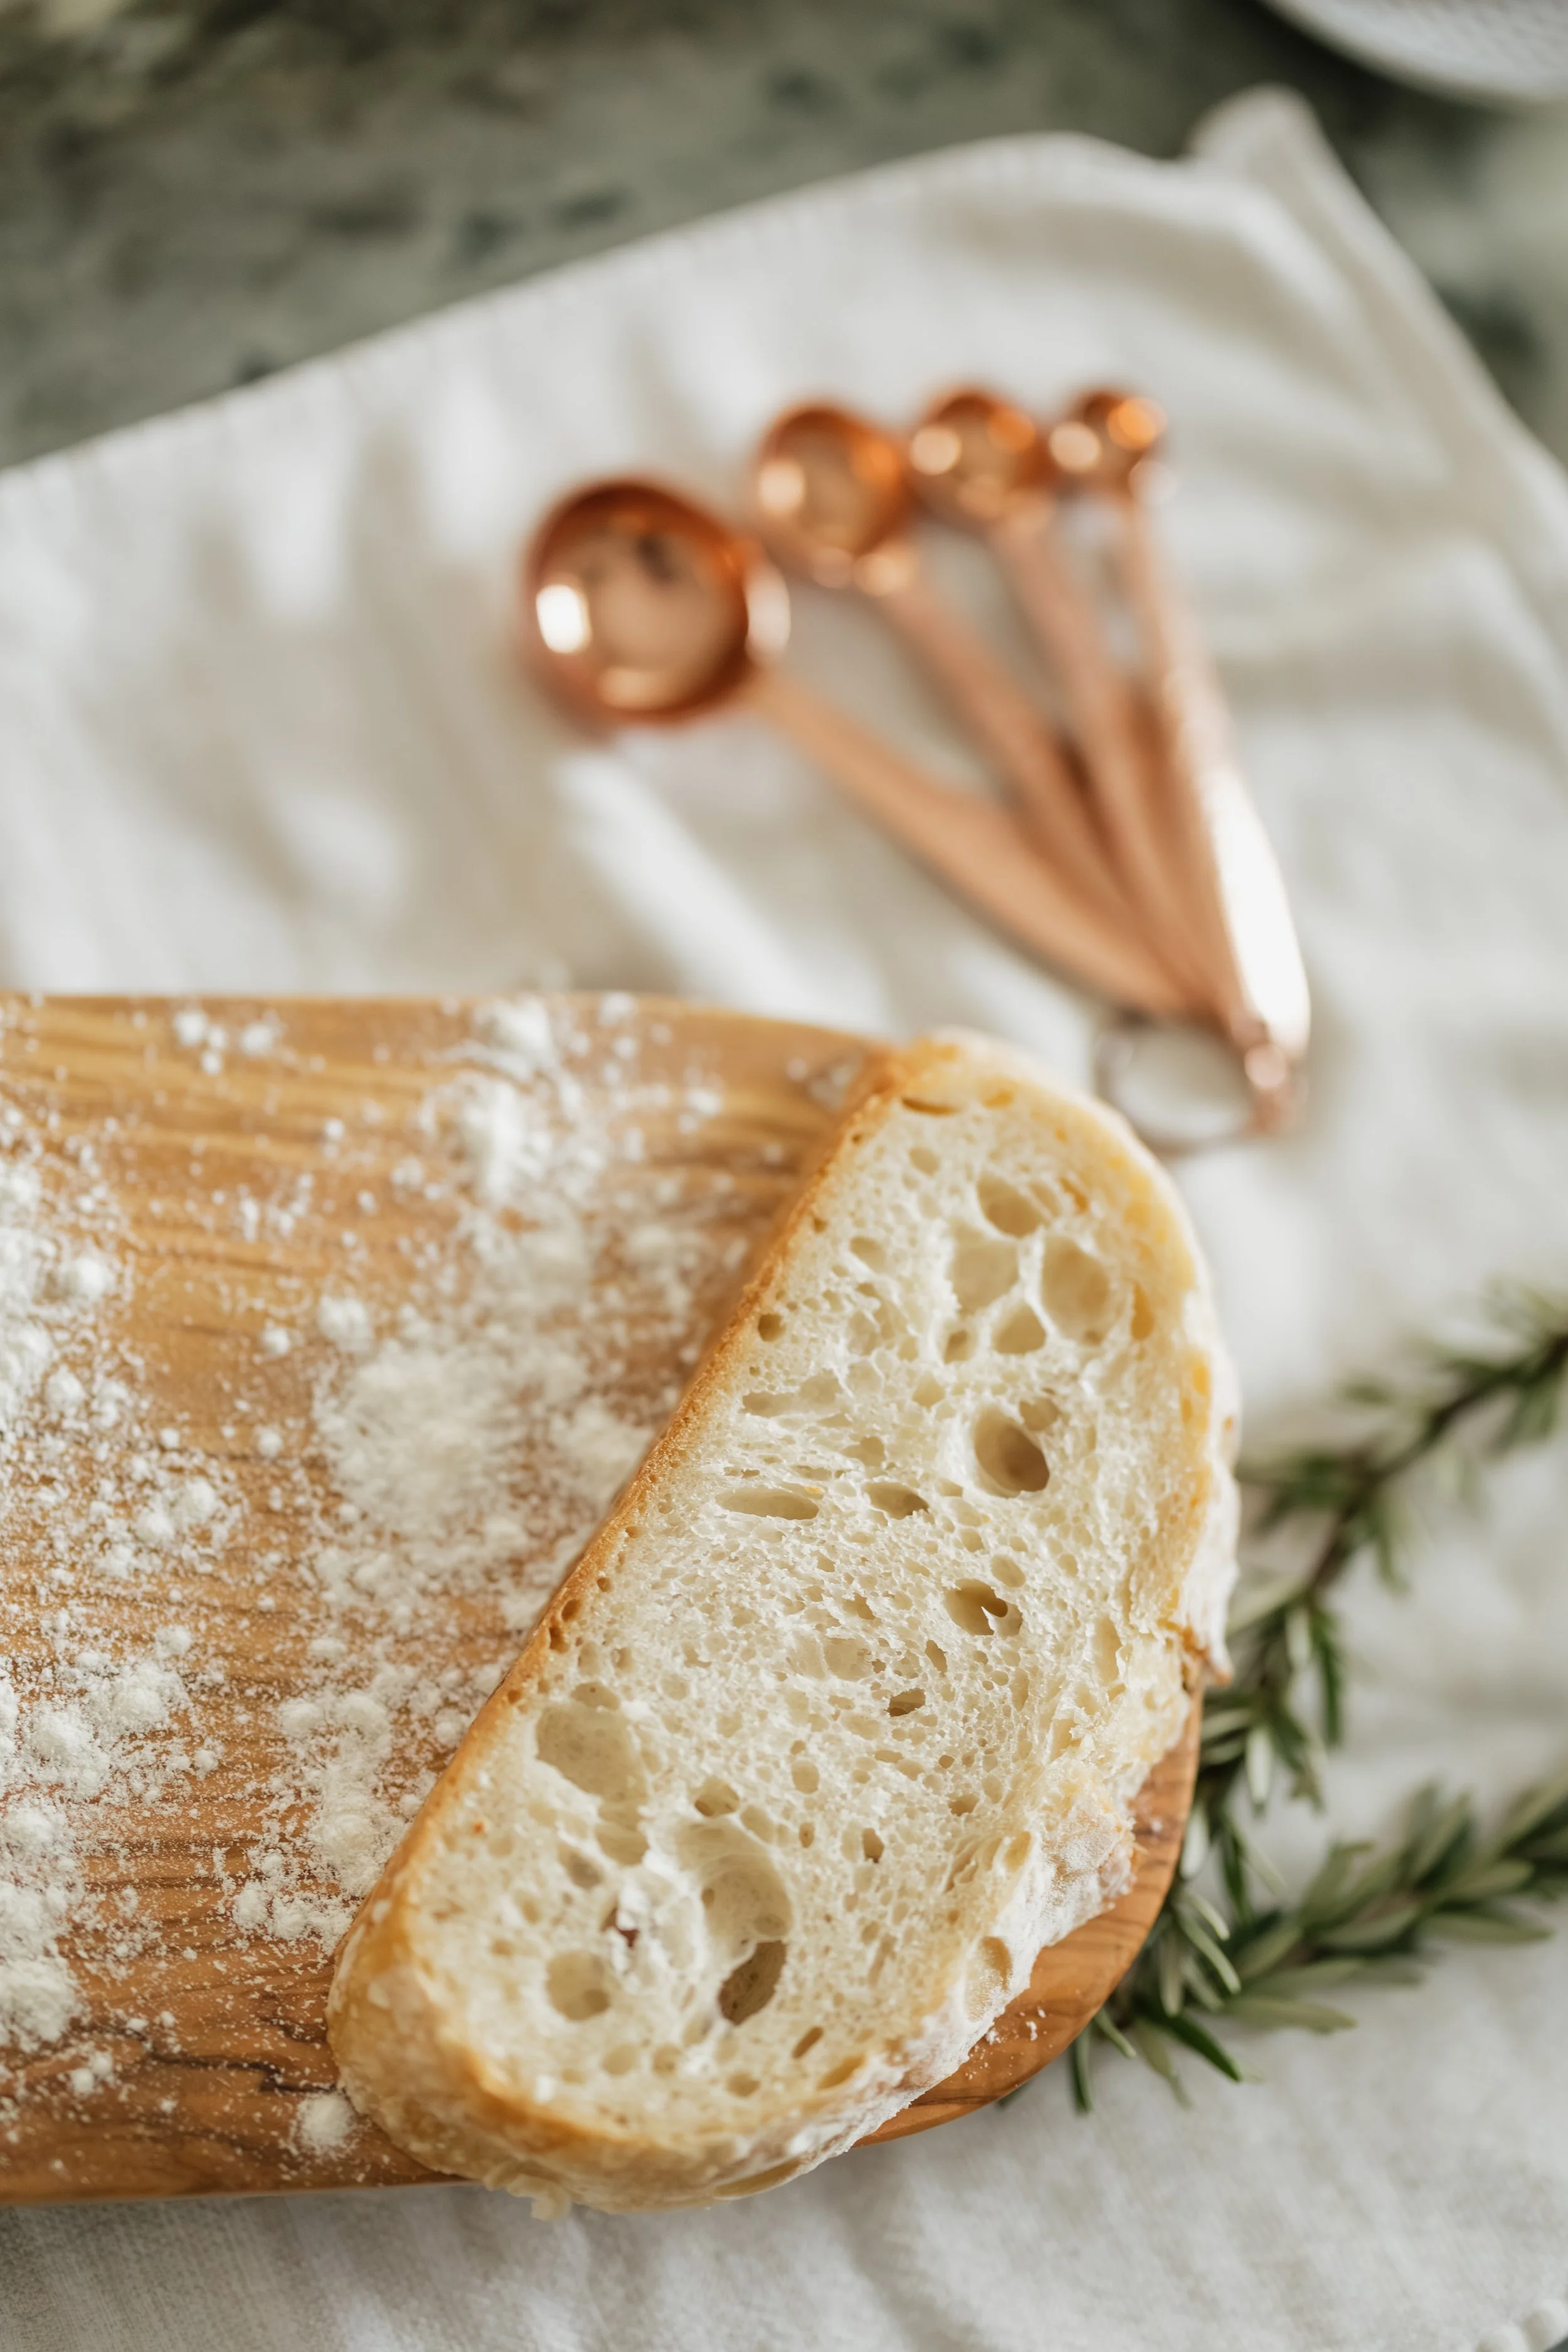
Let the bread cool for at least 1 hour before cutting, then enjoy!
Tips & Tricks
If you don’t already have a batch of starter, it can be time consuming to make one from scratch. A solution would be to grab some from a friend or buy an established starter for your base and start the feeding/activating process from there. Bakeries often will sell their starter so look for some at a local bakery or online.
Measurements, timing and visual cues are important when making sourdough. I recommend getting a food scale and measuring the ingredients in grams. Make sure you follow the time frames provided but use the visual cues to confirm your dough is at the right phase of development. The timeline i typically follow is feeding my starter at 7-8am, starting to make the bread around noon when the starter has activated, with the stretch and fold process complete by 1-2pm to let it bulk ferment on the counter so it’s ready to shape right when I’m heading to bed, then I bake any time the following day after an overnight cold proof.
Do not cut into the loaf until it has cooled for an hour or two, the inside will be gummy if you cut into it before it has had a chance to cool down!
Tools I recommend having on hand: Glass jar with both a bamboo and canvas lid for your starter, bread whisk, bread lame for scoring, Dutch oven, parchment paper or bread lifter, food scale and a banneton bowl with a liner.
Bread can be stored in an airtight bag for about 4 days. Make sure it’s stored in something airtight, or it’ll dry out once it’s been cut.
Once you get the hang of the standard recipe, feel free to play around with add-ins! Just incorporate your additional ingredients during the folding part of shaping (step 8). Some ideas: Jalapeno & cheddar, olive, blueberry, sun dried tomatoes & pesto.
Nutrition Facts (per 1 slice serving)
Estimates. Will vary based on ingredients and serving size
Calories: ~200 kcal
Protein: ~5.7 g
Total Fat: ~.06 g
Carbohydrates: ~42 g