Strawberry Rhubarb Pie
This pie pairs fresh strawberries and tart rhubarb with a buttery, flakey homemade crust. It’s the perfect dessert for your next summer get together!
Prep Time: 30 minutes (if making the crust as well, add 4 hours of prep time)
Cook Time: 1 hour (plus at least 2 hours for cooling)
Total Time: 3 hour 30 minutes (7 hours 30 minutes with the crust)
Yield: One 9 - inch pie
Ingredients
For the crust
2 1/4 cups all-purpose flour, spooned and leveled
1 tablespoon granulated sugar
1 cup (2 sticks) unsalted butter, very cold (highly recommend Kerrygold brand!)
3/4 teaspoon fine seal salt
6-8 tablespoons ice water
For the pie filling
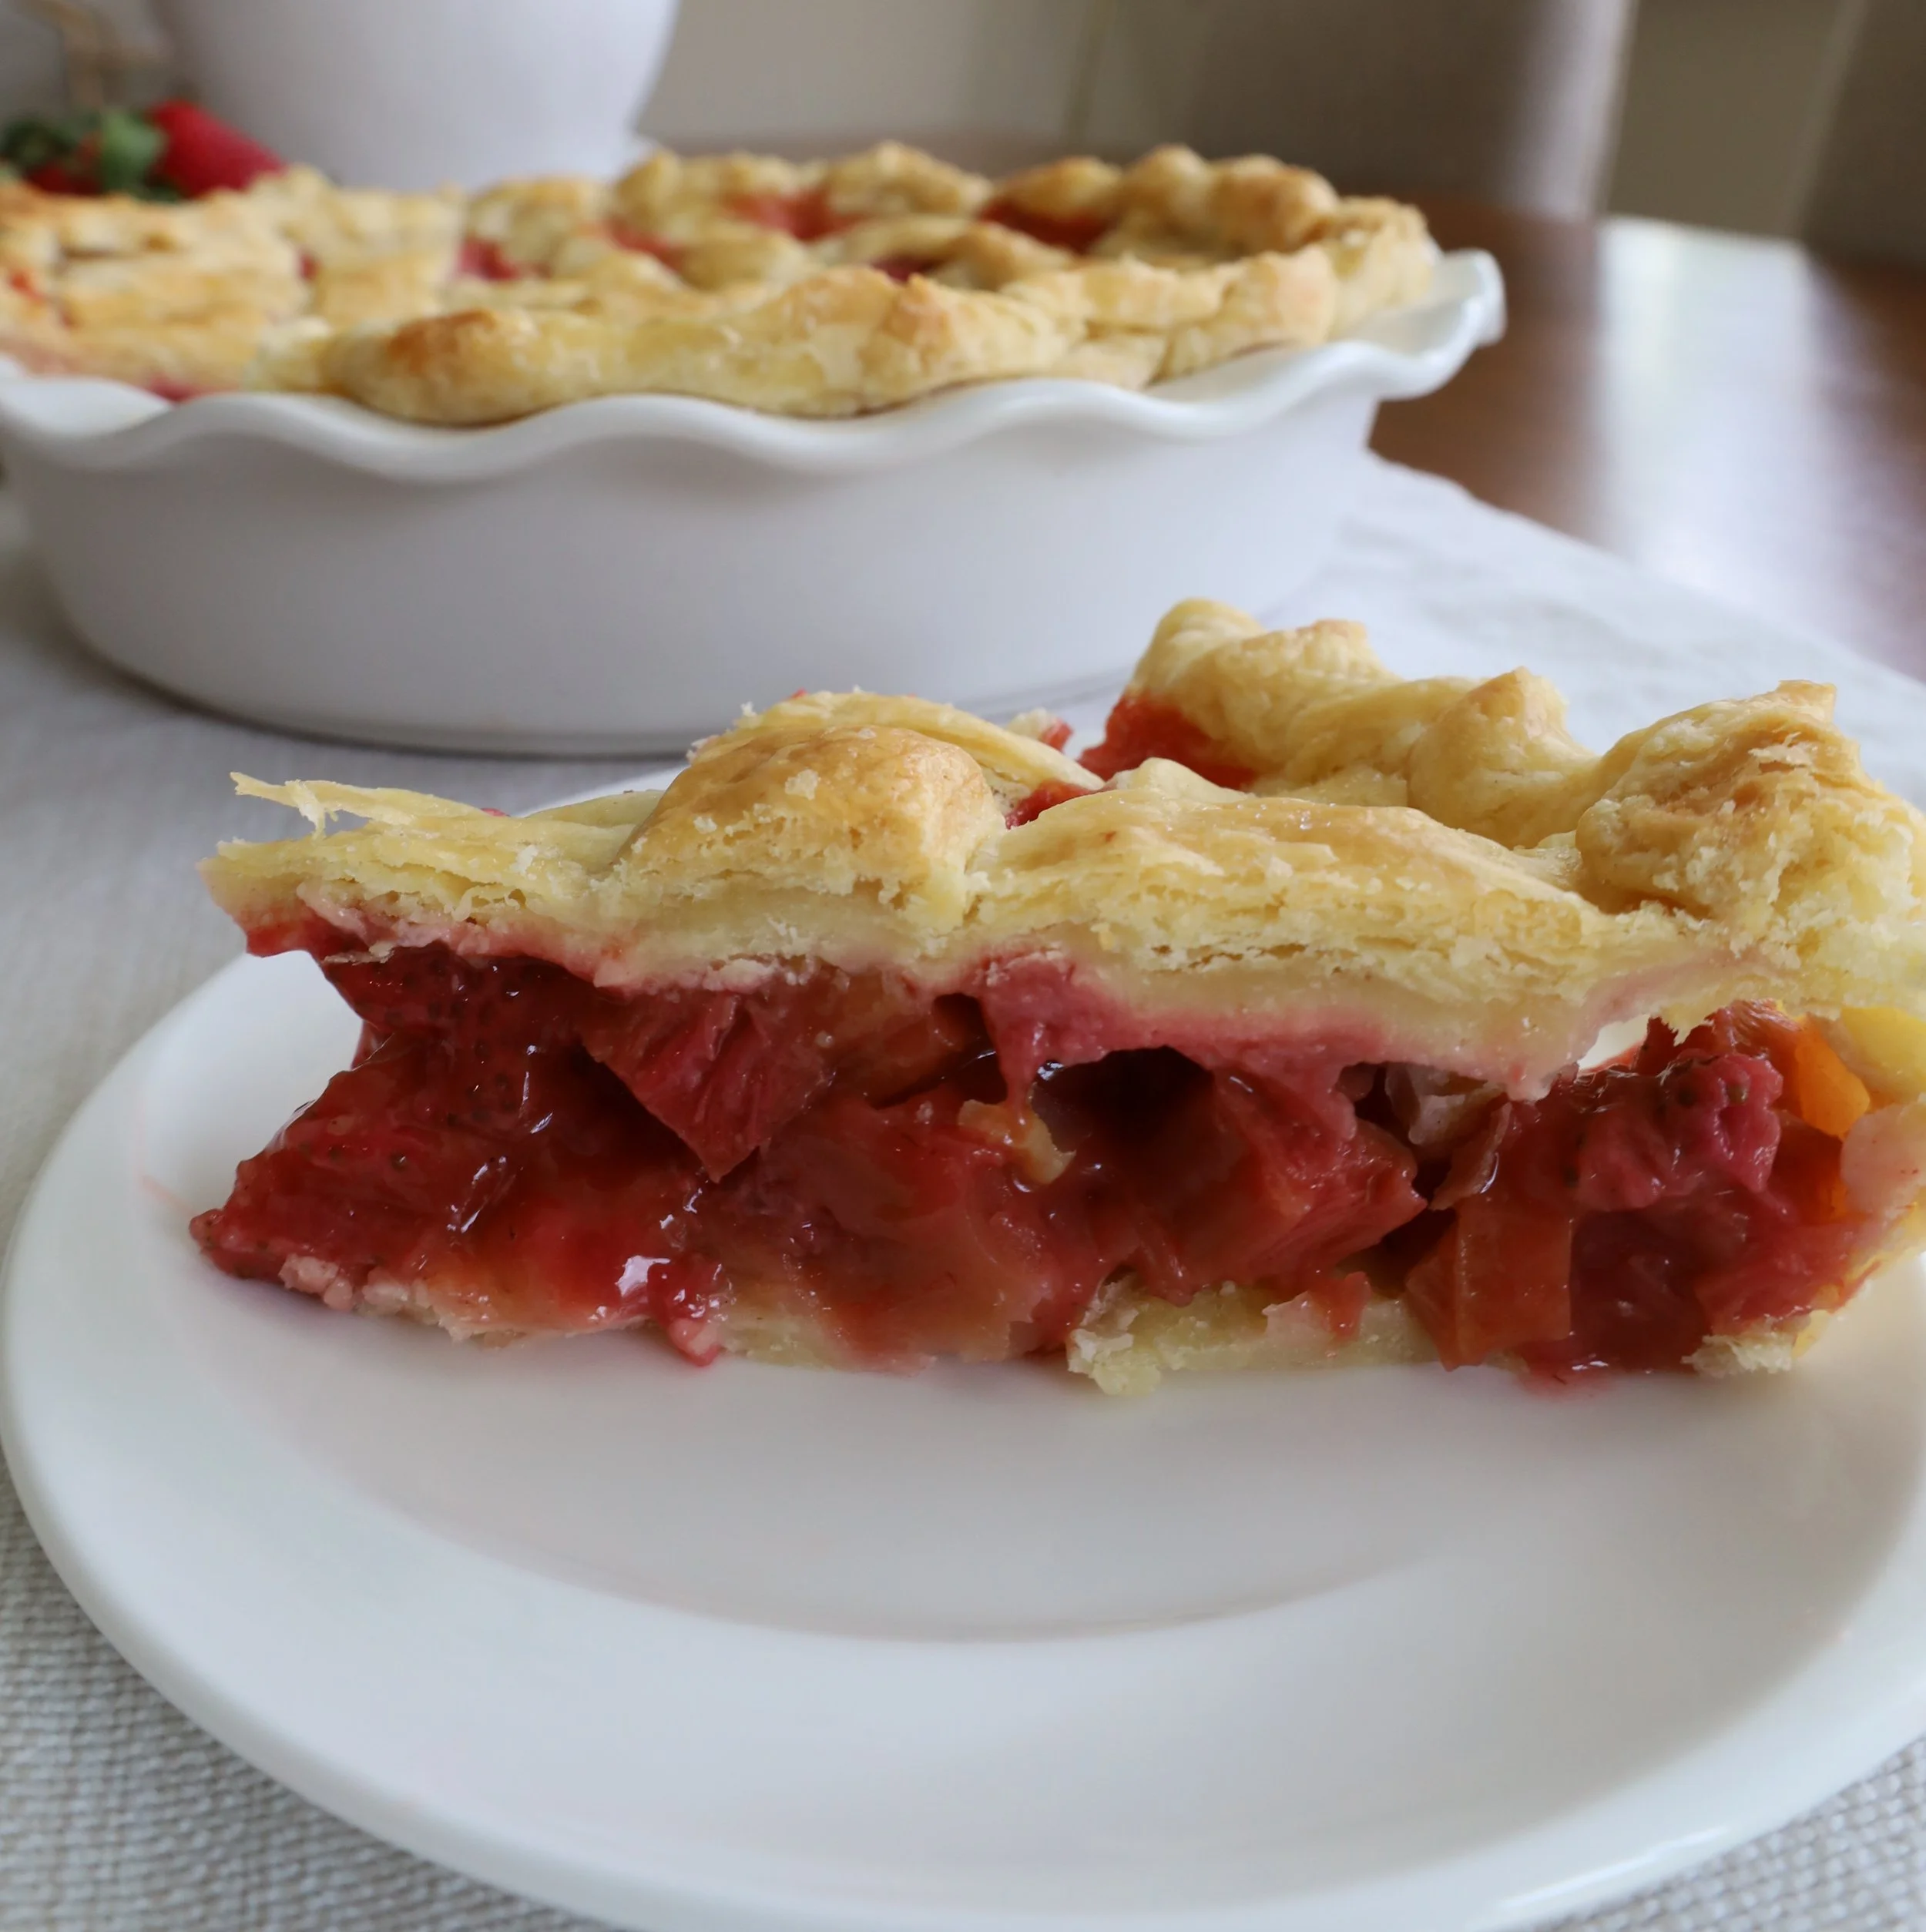
3 cups fresh strawberries, washed and dried, then quartered
3 cups fresh rhubarb, washed and dried, then cut into 1/2-inch slices
1/3 cup granulated sugar
1/3 cup brown sugar, lightly packed
1/4 cup corn starch
1 tablespoon all purpose flour
1/4 teaspoon ground cinnamon
1 teaspoon pure vanilla extract
Optional:
1 egg for pie crust egg wash
Course sugar for garnish
Instructions
If you have pie crust already made or are using store bought, proceed to step 2. To make the pie crust, cut up butter into small cubes and place in the freezer while you’re mixing the other ingredients together. In a large mixing bowl, whisk together flour, sugar, and salt. Once butter has chilled for a few minutes, use a pastry cutter (or a fork if you don’t have a pastry cutter) and cut cubed butter into the dry ingredients. This will take a few minutes; you’ll know it’s fully incorporated when you start to get pea sized crumbs of butter and flour. Add four tablespoons of ice water to the mixture and incorporate using a spatula. A shaggy dough will start to form- you don’t want to over hydrate the dough so add one additional tablespoon of water at a time and press the dough together until it holds its shape but isn’t wet. Separate the dough into two equal portions and with your hands, press the dough together until it forms a ball, then place on a piece of saran wrap and flatten the dough ball into a 6-inch disk. Wrap the disk in the saran wrap tightly and place in the fridge, then repeat with the other half of the dough. Allow the dough to chill for at least two hours, and up to 2 days in the fridge.
Pre-heat oven to 400 °F and set out a 9-inch pie plate. To make the pie filling, add the quartered and hulled (stem removed) strawberries and the sliced rhubarb to a large mixing bowl. Ensure you’re measuring your fruit after it’s cut (for example measure 3 cups of quartered strawberries, not whole strawberries).
In a small mixing bowl, whisk together the granulated sugar, brown sugar, cinnamon, flour and corn starch. Pour the dry ingredient mixture over the strawberries and rhubarb, then add vanilla extract. Using a spatula, mix everything together thoroughly until the fruit is well coated then set aside.
Take your pie crust out of the fridge and lightly flour your counter surface and a rolling pin to begin rolling the dough out. Take one disk out of the saran wrap and place it on the floured counter surface then using even pressure, roll the dough from the center of the disk and rotate as you’re rolling so you get an evenly rolled, circular pie crust. You’ll want the crust to be 10-12 inches across so it will slightly hang over the edge of the pie plate. Add a touch more flour to the counter and rolling pin as you go if the dough is sticking.
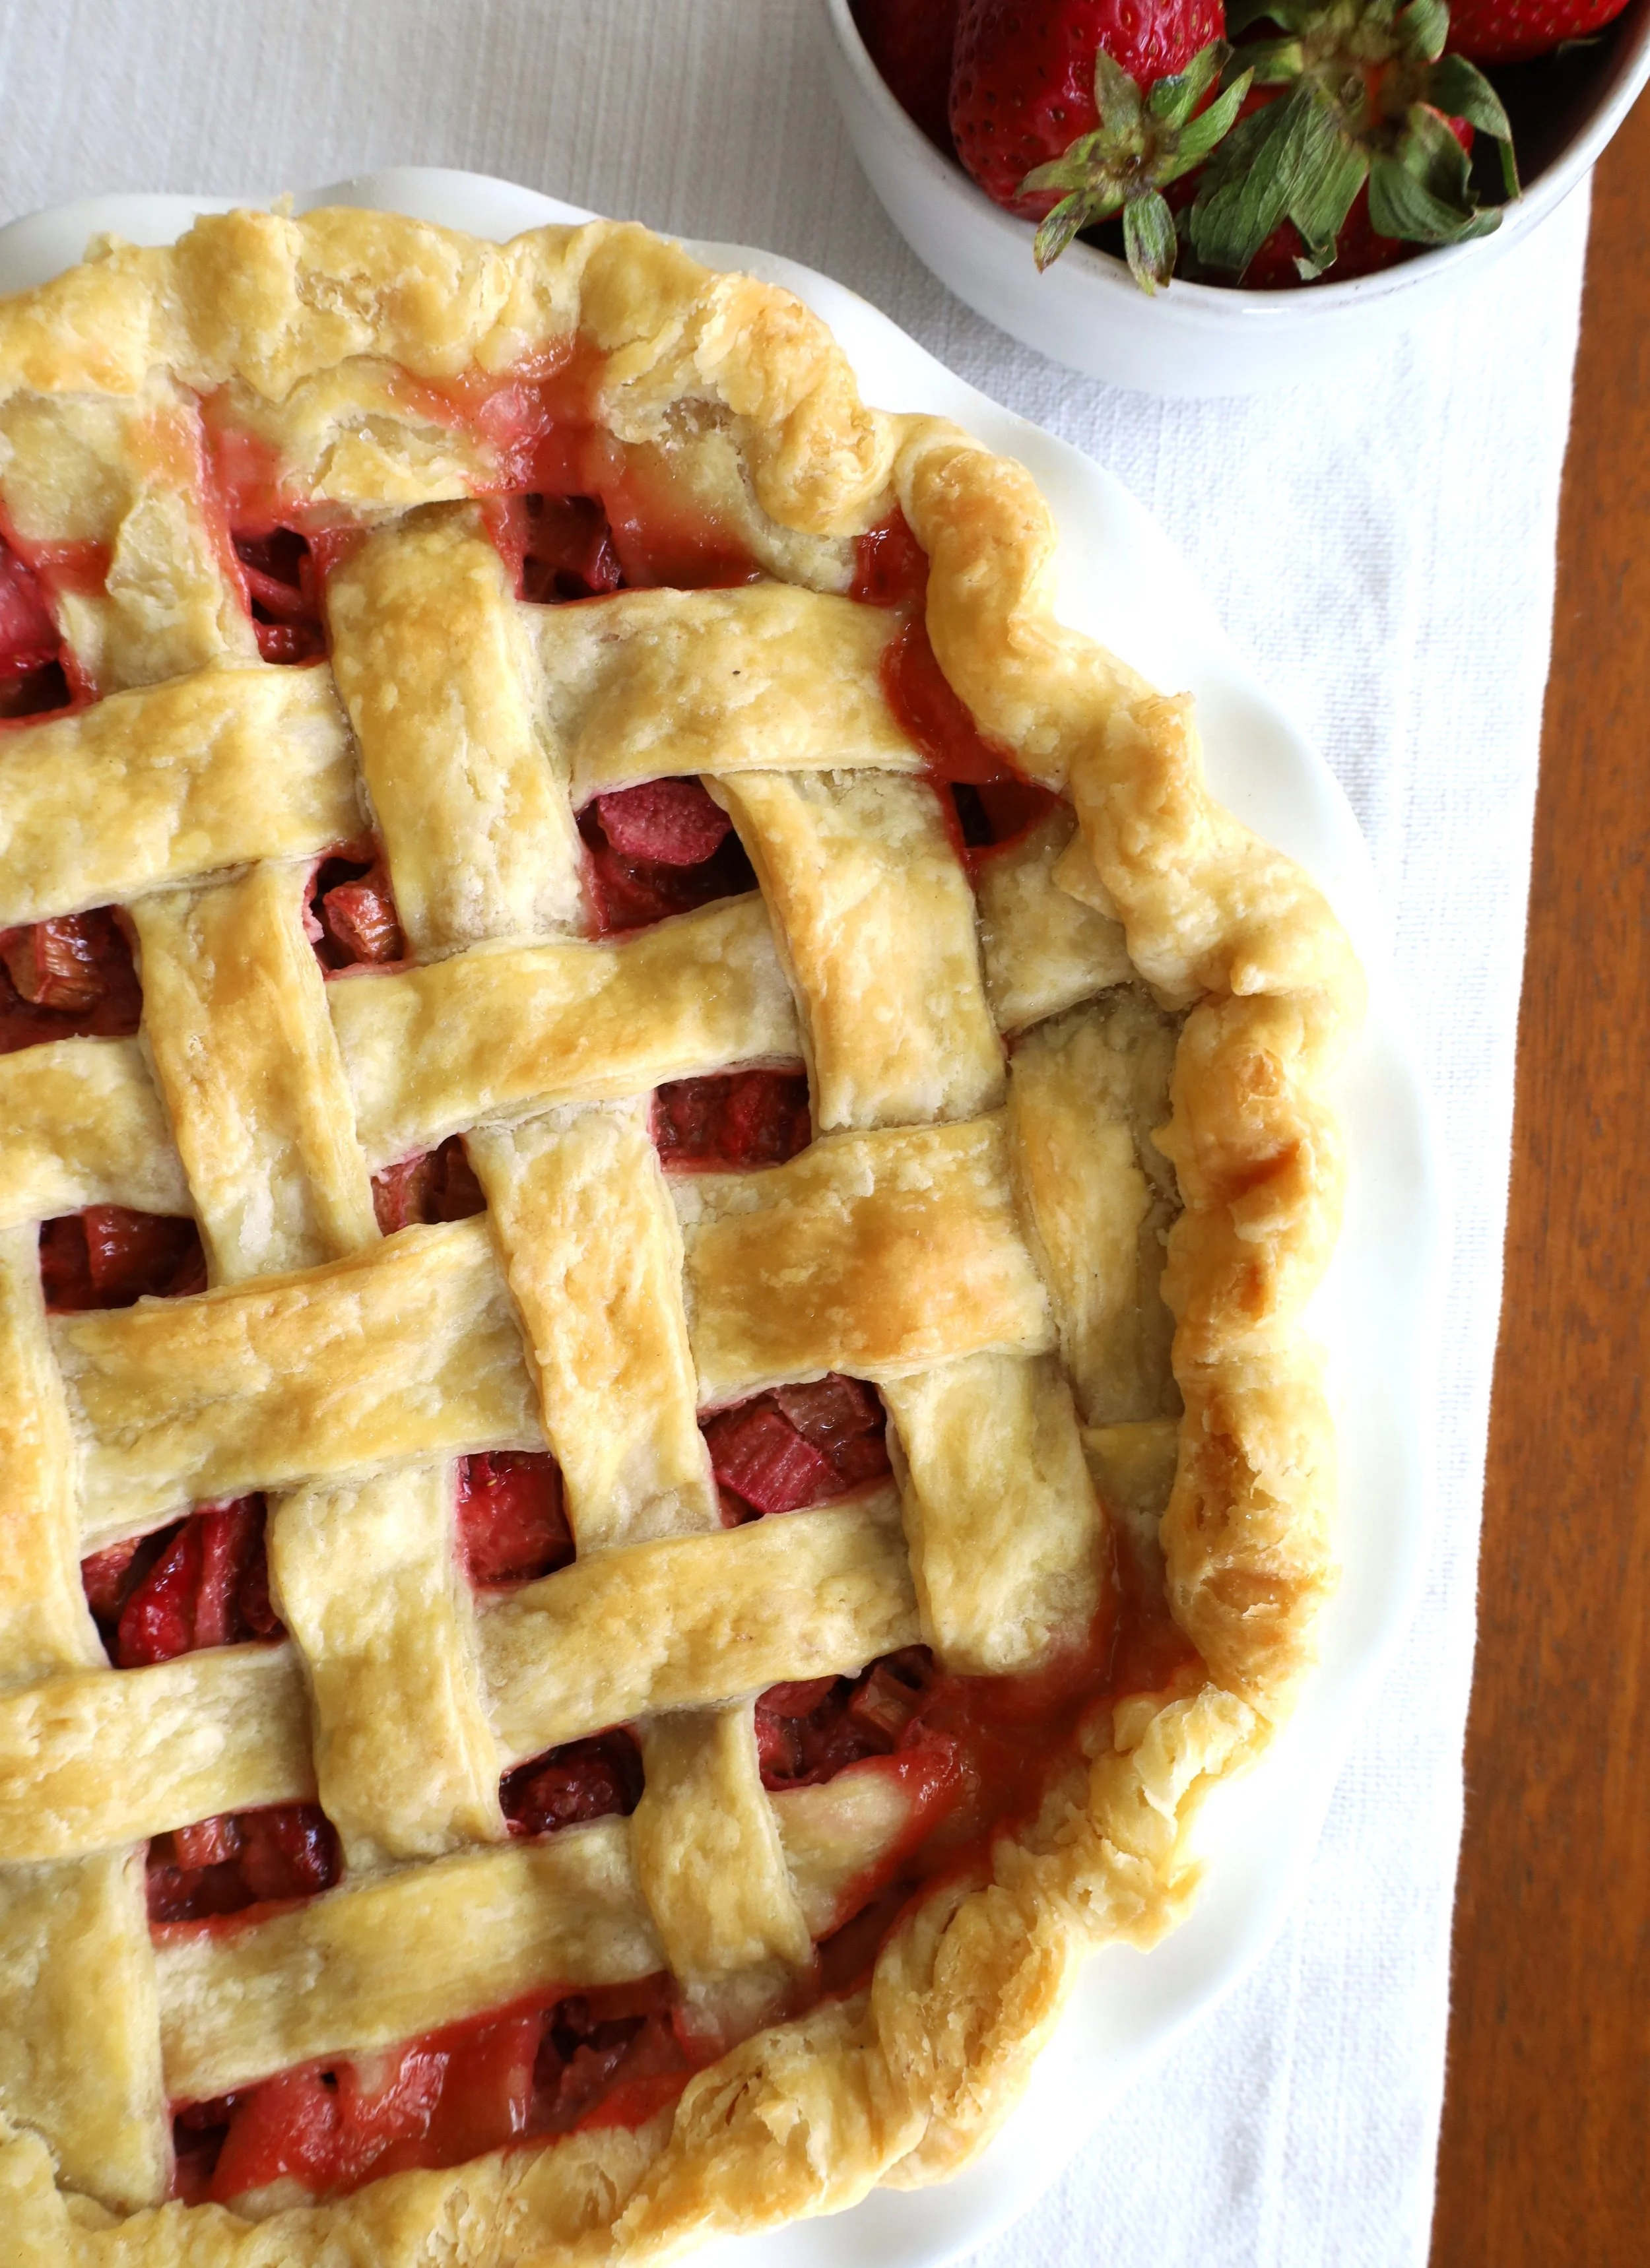
Once your first crust is rolled out, lay it into the pie plate and very gently press into the bottom and sides so there are no air bubbles between the plate and crust. Roll out the second crust following the same steps above. If you want a regular top crust, feel free to leave it intact. If you want to try the lattice method, use a knife or pizza cutter to cut the rolled dough into 12 even strips. Use a ruler if you’d like to mark them off before you cut!
Add the filling mixture to the pie plate, then either place your top crust over the filling and fold it over the bottom crust around the edges, then pinch to seal it. Using a fork or your fingers, crimp the crust into the design of your choosing and with a knife, add 4-6 slits in the top crust to allow for ventilation. If using the lattice method, lay 6 of the crust strips evenly spaced across the filling, then pull every other strip back. Add one of the remaining strips across the filling going the other direction, then fold the strips that are pulled back, back over the perpendicular strips. Repeat this process by alternating pulling back every other layer until you have all strips placed in a lattice format then cut any excess crust around the edges. Fold the bottom layer over the ends of the lattice pieces and crimp with your hands to seal the edges of the crust. Lattice crusts are really pretty but definitely a more complicated process so if it’s your first time, I recommend looking up a video tutorial!
If you’d like to add an egg wash, add one egg and a tablespoon of water to a bowl and beat well. Using a pastry brush, brush a very light layer of the wash over your crust. You don’t have to do this step- it’s about personal preference on how the crust looks! The egg wash will give you that super golden brown, shiny look.
Cover your crust edges with strips of tin foil or a pie shield to prevent burning, then place pie in the oven. Bake at 400 °F for 20 minutes, then lower the temperature to 350 °F and bake for another 45-50 minutes until crust is golden brown and juices are bubbling around the edges/through the lattice.
Cool for at least 2 hours before slicing and serving, then enjoy!
Tips & Tricks
I’ve included a homemade crust recipe for this pie, but if you’re short on time storebought can be used. If you are making your own crust, keeping the ingredients cold is key to that super light and flakey texture. Ensure your butter and water are very cold and make sure you chill your dough before using it.
You can certainly cut and serve this pie a few hours after you bake it, but because strawberries are quite watery, I recommend fully cooling the pie and chilling it in the fridge for an hour or so before serving to ensure the filling is set and not runny.
I personally prefer pies without the crunchy layer of coarse finishing sugar but if you enjoy it, feel free to sprinkle some on top of your egg wash prior to baking!
Nutrition Facts (per 1 slice serving)
Estimates. Will vary based on ingredients and serving size
Calories: ~360 kcal
Protein: ~3 g
Total Fat: ~21 g
Carbohydrates: ~39 g